Here are the steps you need to take to create a Quote Template for Dynamics CRM in Microsoft Word. With one click, users can generate standardized documents (like a Quote, for example) that are automatically populated with CRM data.
Best practice recommends 4-8 columns for a Word template in a table of line items (such as Quote Products), so that the document remains in standard Portrait orientation and Letter size.
Here are the steps to create a quote template:
- Navigate to a Quote and select Word Templates (from the “…”) and Create Word Template
- Make sure the Entity = Quote and click ‘Select Entity’
- Choose the Quote Product from the 1:N and Account, and User from the N:1 relationships (this is because we need information on the Quote from these other tables) Note: Contact entity is not needed as there is now Contact info (Name, Phone, Email) on the Quote itself.
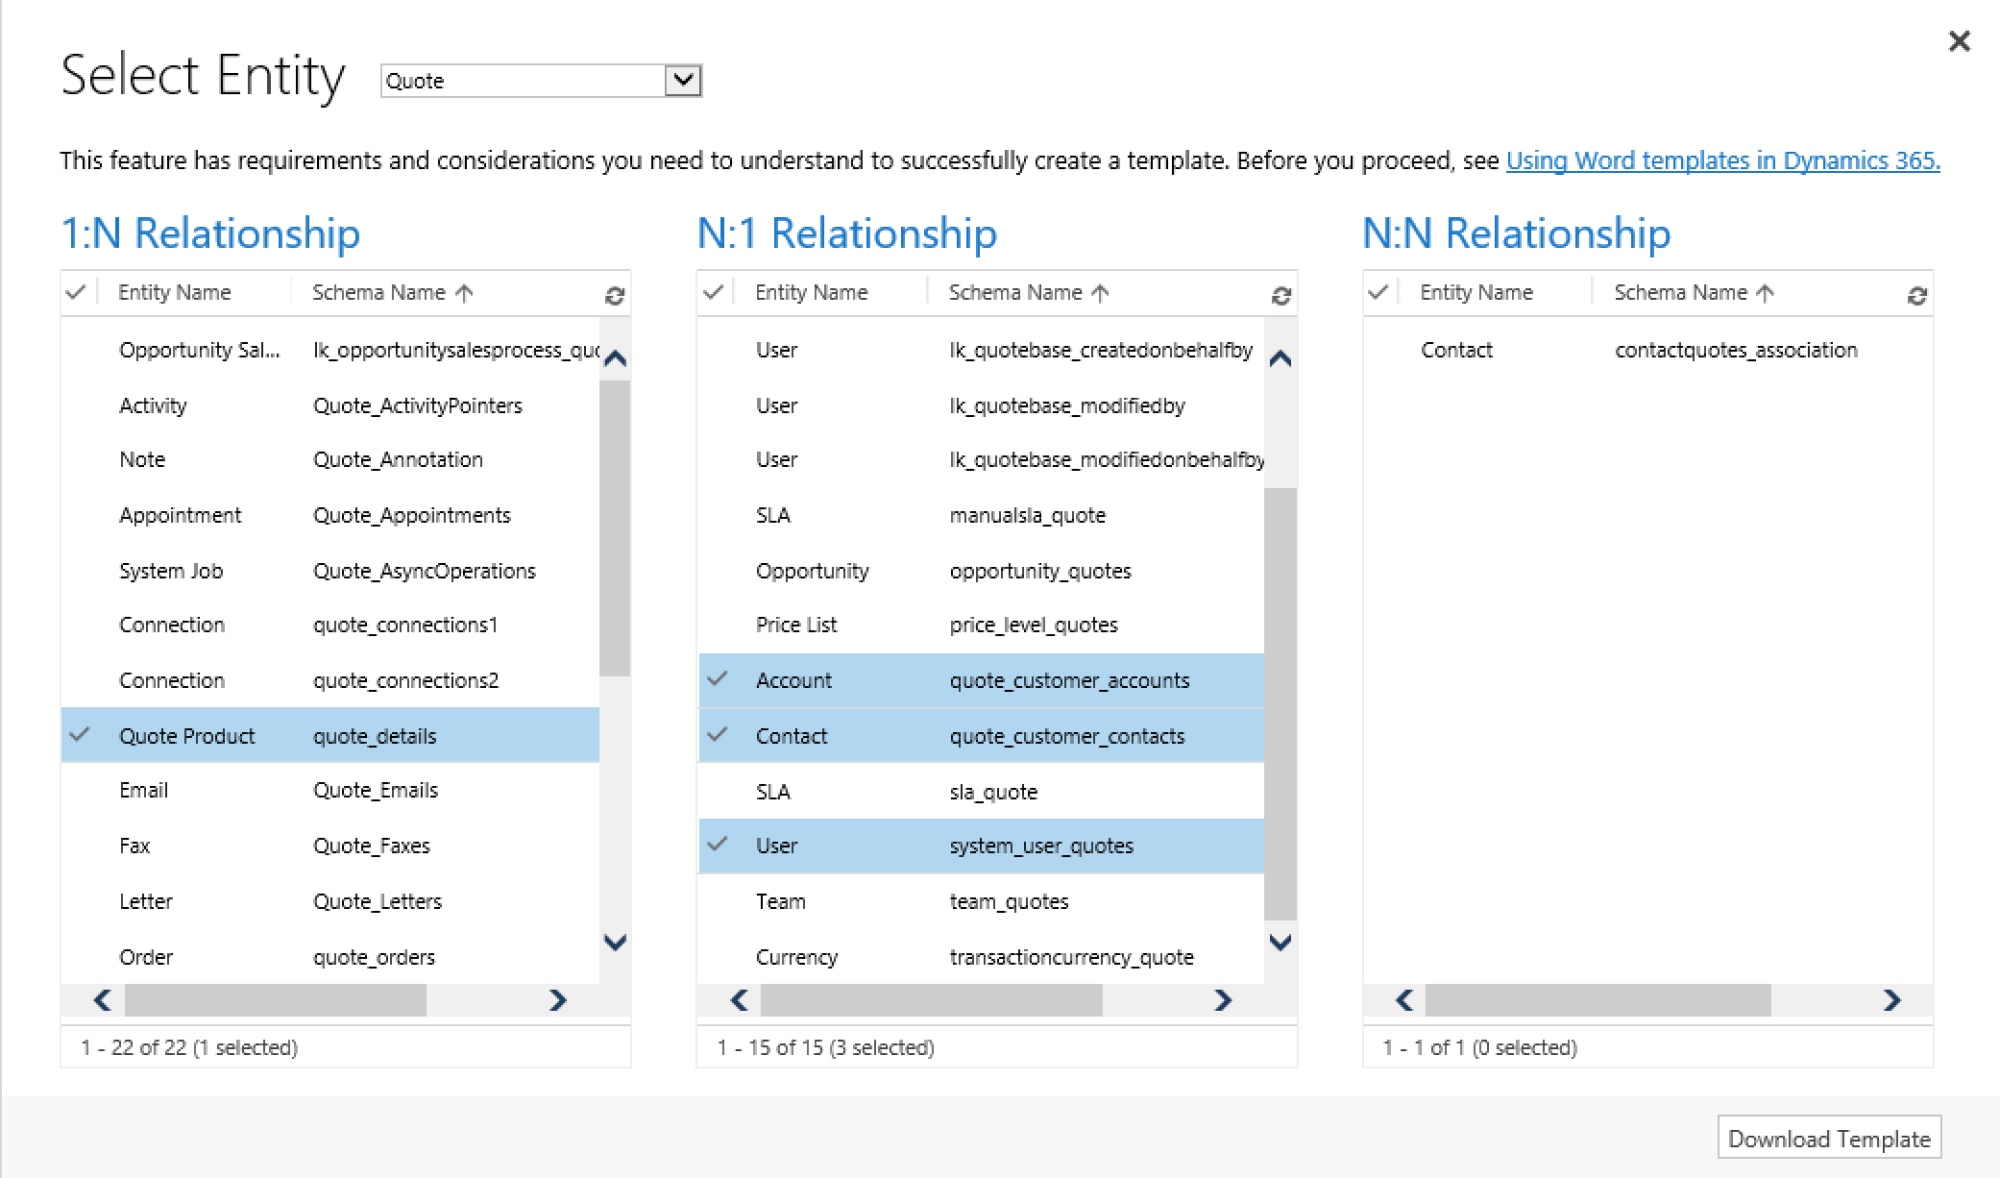
- Click Download Template, Save the template and name it, then Open
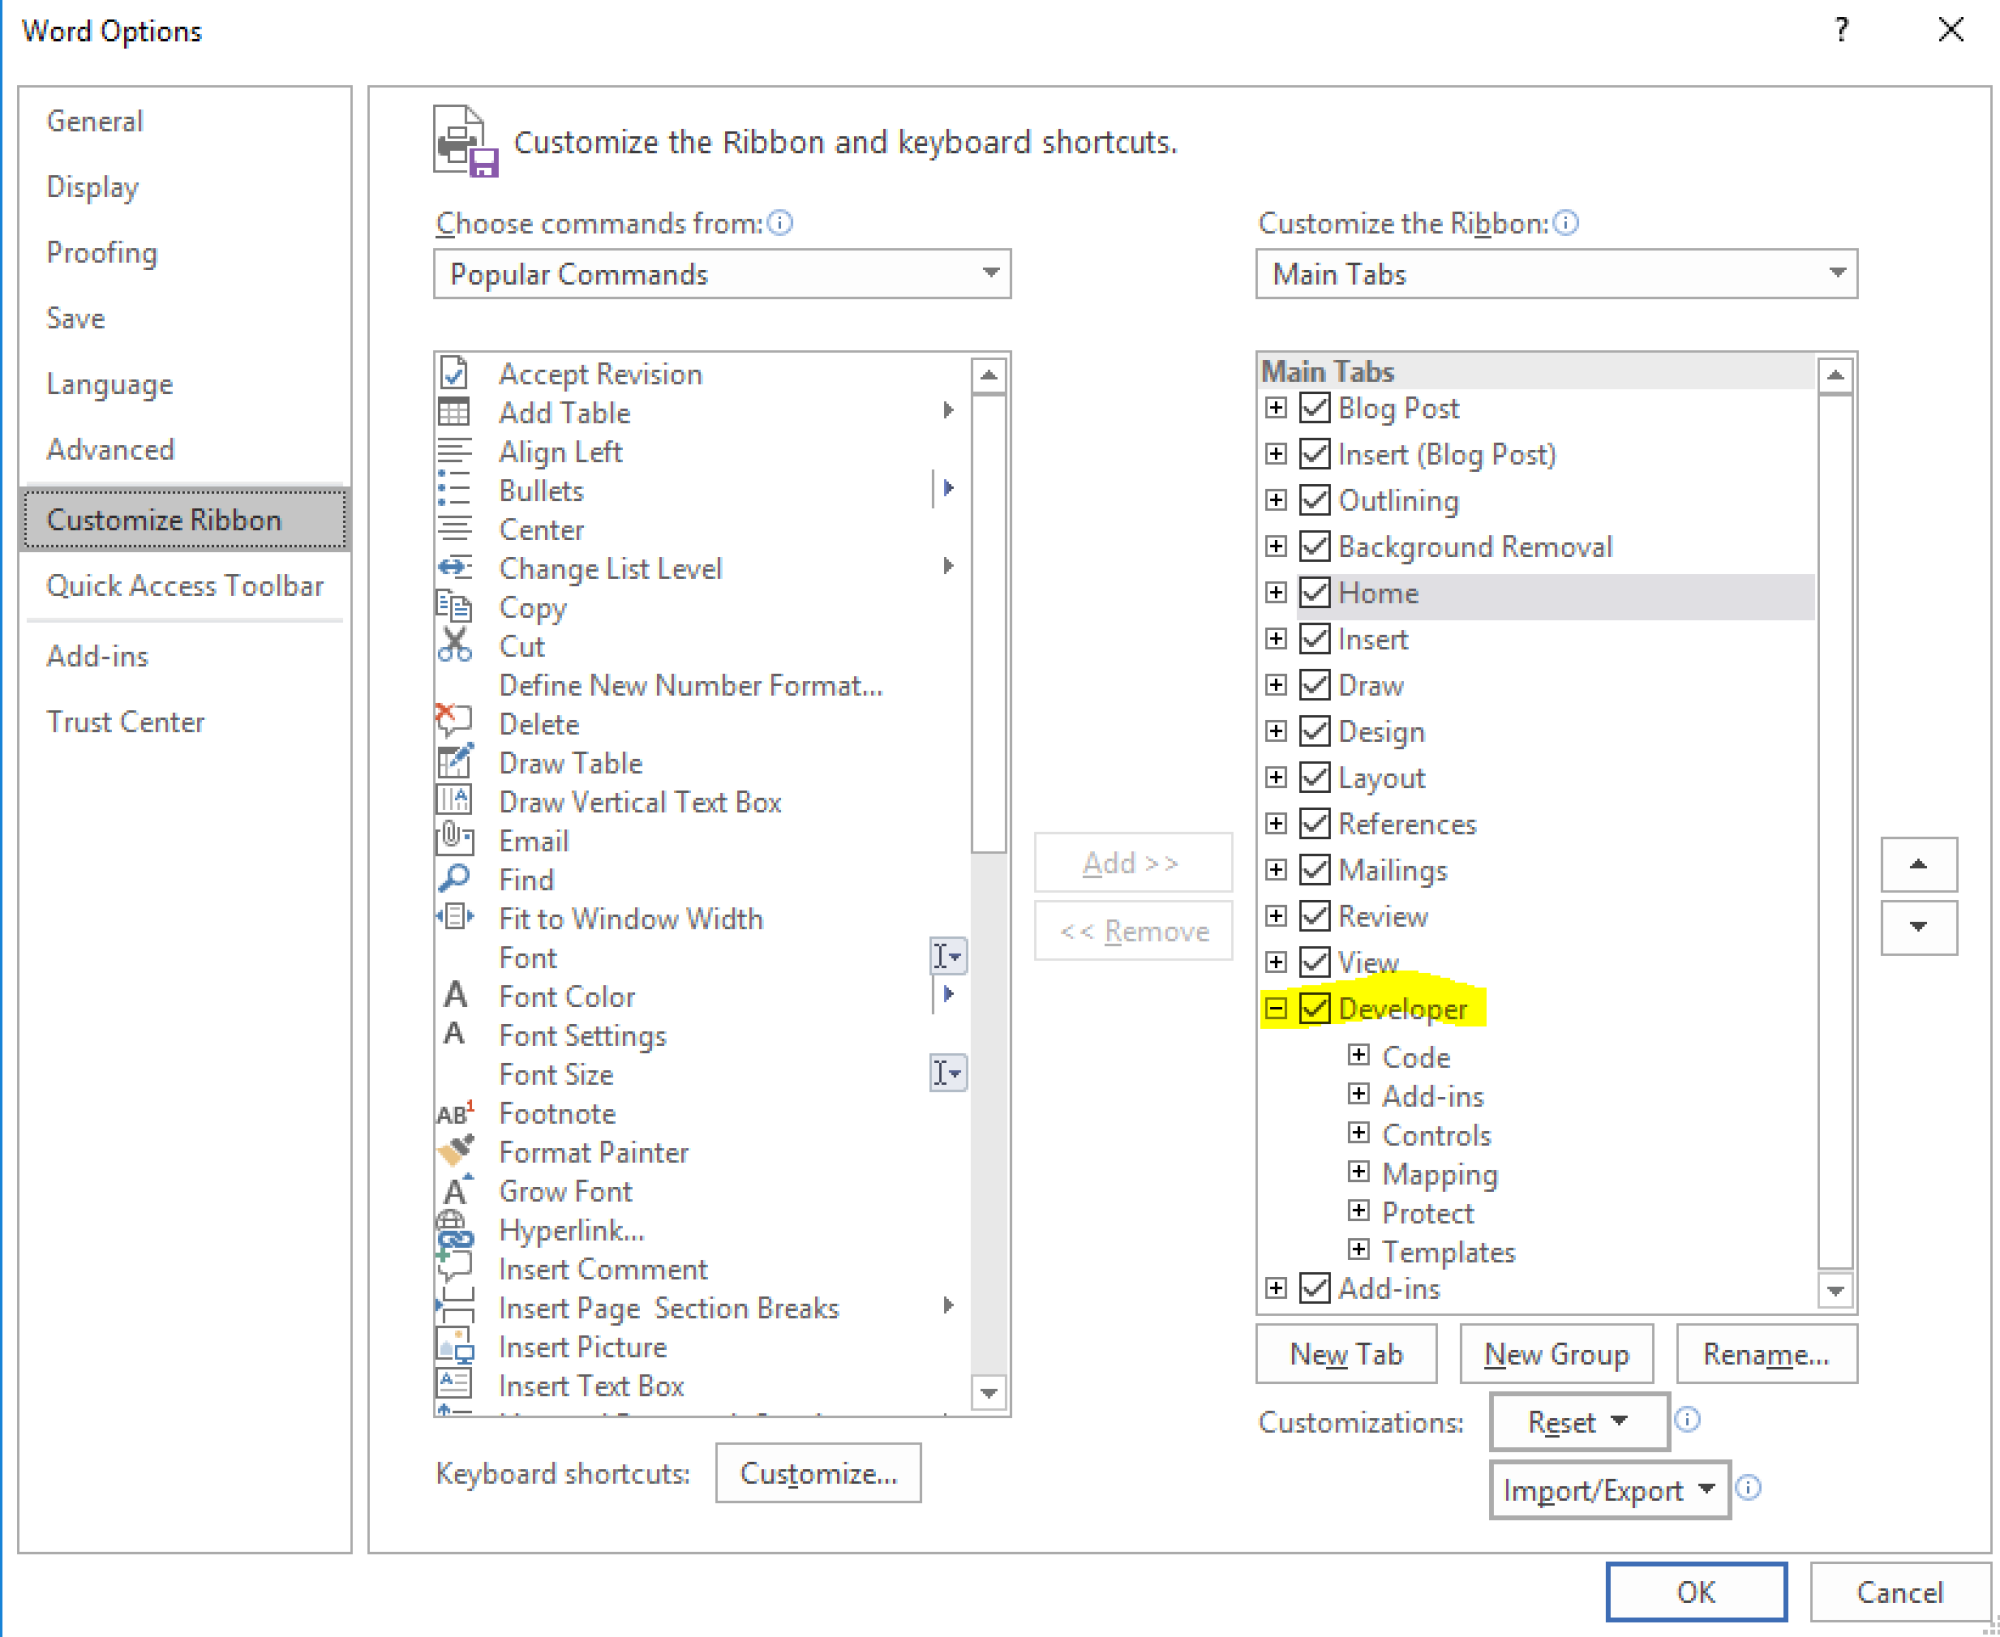
- File-Options-Customize Ribbon, and enable ‘Developer’ tab
- File-Options-Proofing-AutoCorrect Options and uncheck the two checkboxes shown, as well as the checkbox at the bottom

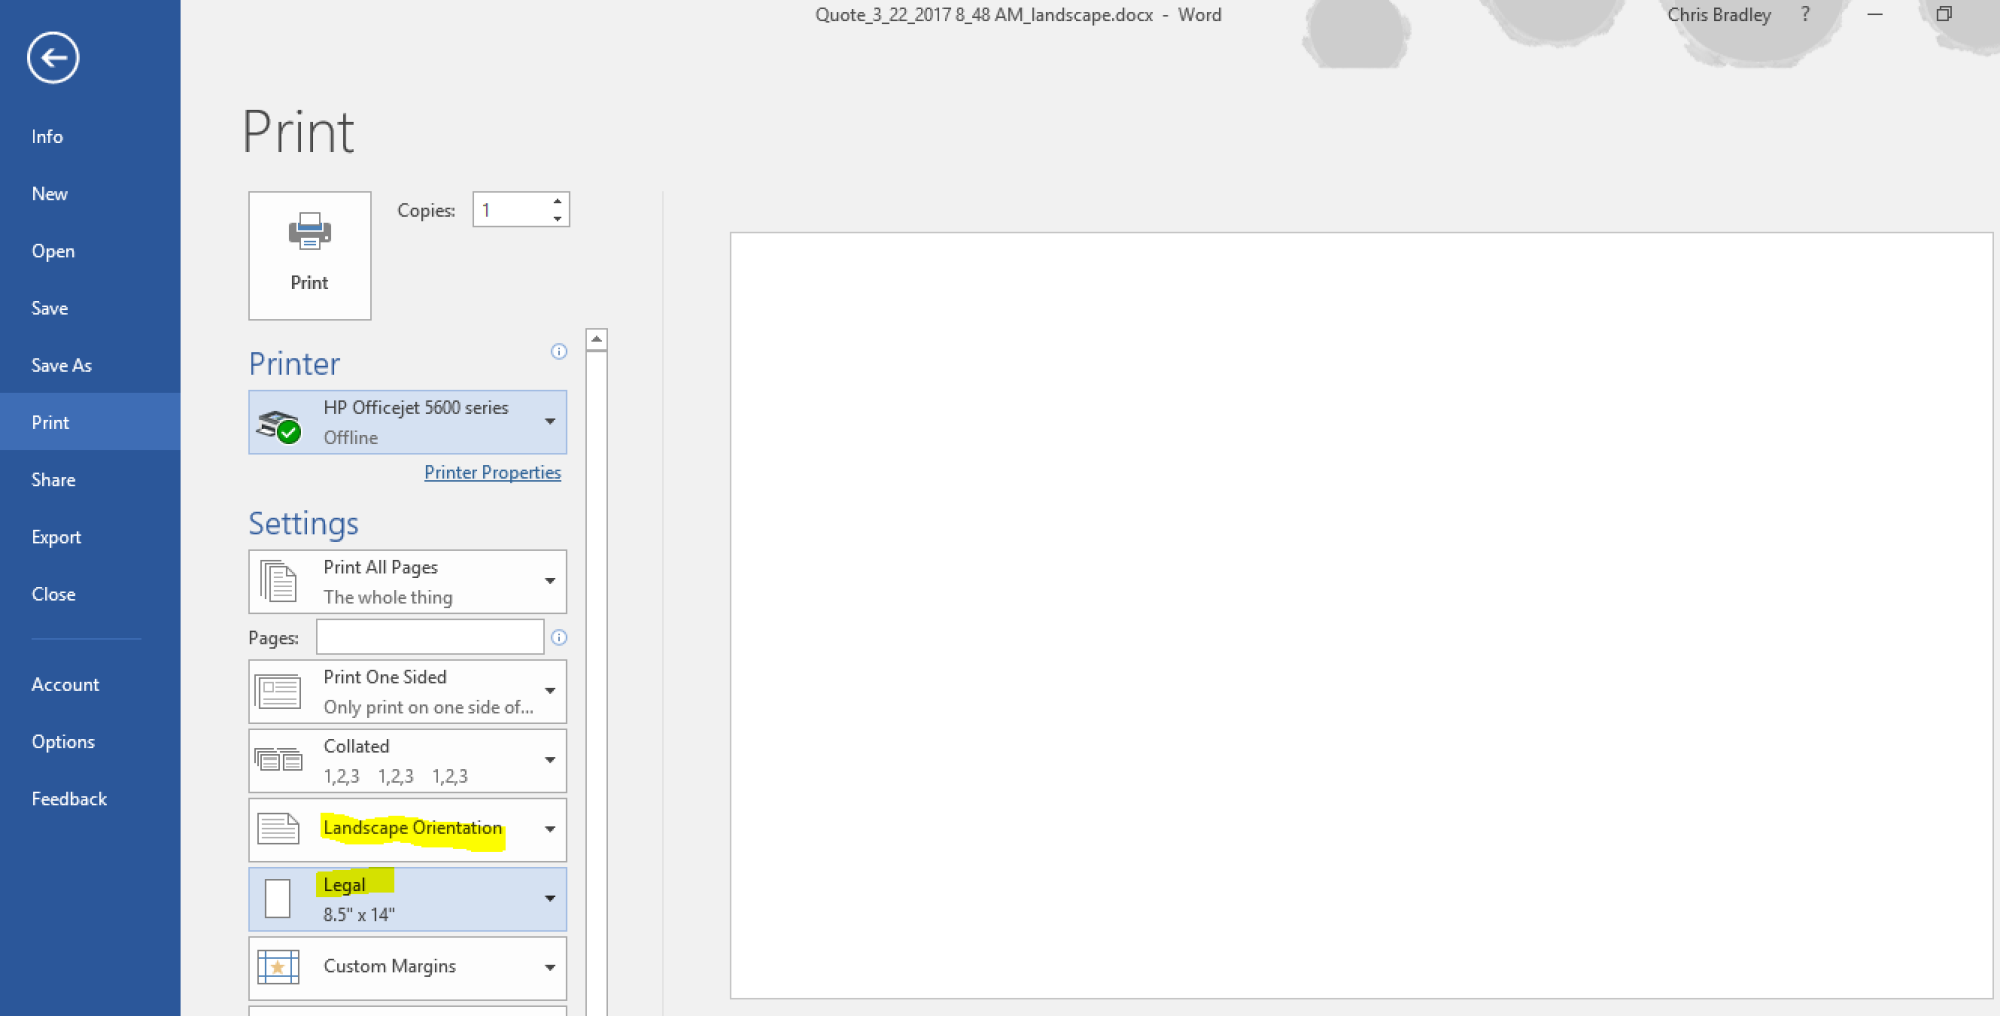
File-Print and change settings for the Word doc Orientation to ‘Landscape’, and print format ‘Legal’
- Click Developer tab and “XML Mapping Pane” – this will allow you to pull in the merge fields from CRM
- Select the 4th option in the Custom XML Part, the one that begins with ‘urn:Microsoft-crm…’ (usually the 4th option)

- Expand out the ‘Quote’ entity, and scroll to the bottom to find the other related entities/relationships for Quote Product (quotedetails), Account, (quote_customer-account) and User (system_user_quotes)

- Copy your company's logo onto Word template, and any header information needed (like your address, today’s date, etc.)
- Go to Insert Tab ‘Table’ and insert a 2 Column, 8 row table for Customer / Quote, etc. information in the Word Template
- Type in the label information for all pieces of information for Account, Quote and User entities

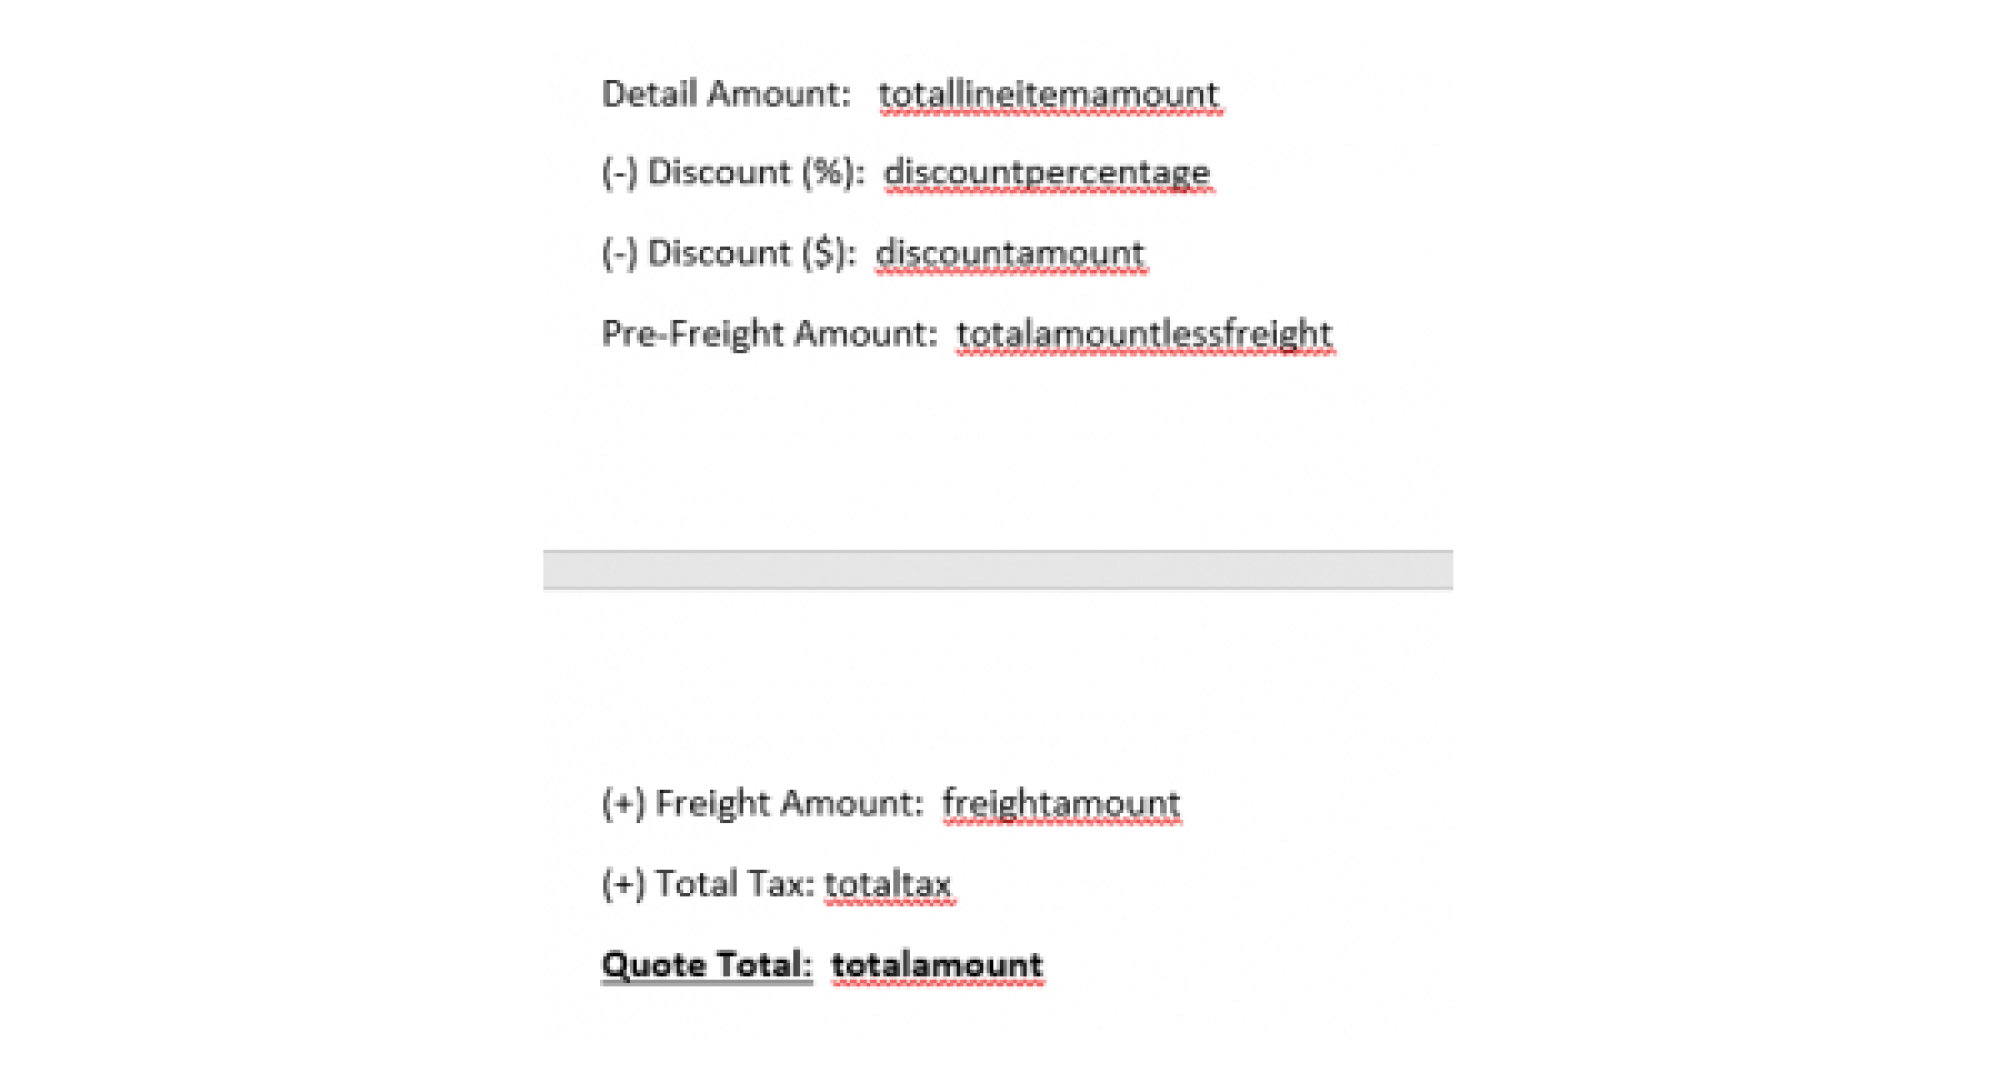
- For Each of the fields – navigate to the XML mapping pane, and select the field from the proper entity, highlight, right-click, ‘Insert Content Control’ and choose ‘Plain Text’ (you will need to insert for Company Name – ‘name’, as this is the schema name for the Account record. Schema names are the identifiers for each merge field you will insert as Plain Text). It should look something like this when mapped (I bolded header fields for better look):'

- As per above, insert your tables for the Quote Product information as you did in step 12 and 13.
- Repeat Step 14 for the merge fields for Quote and Quote product information

- To make the Quote Product table repeat, to show all lines in the Quote select the first line of merge fields, navigate over to the XML Mapping pane, select the entity for Quote Product (quotedetails), right-click, and select ‘Insert Content Control…. Repeating’.
- This will repeat the lines automatically in the generated document.

- Insert Terms and Conditions

- Save and return to CRM
- Navigate to a Quote and open it. Click the “…” and select ‘Create Word Template’
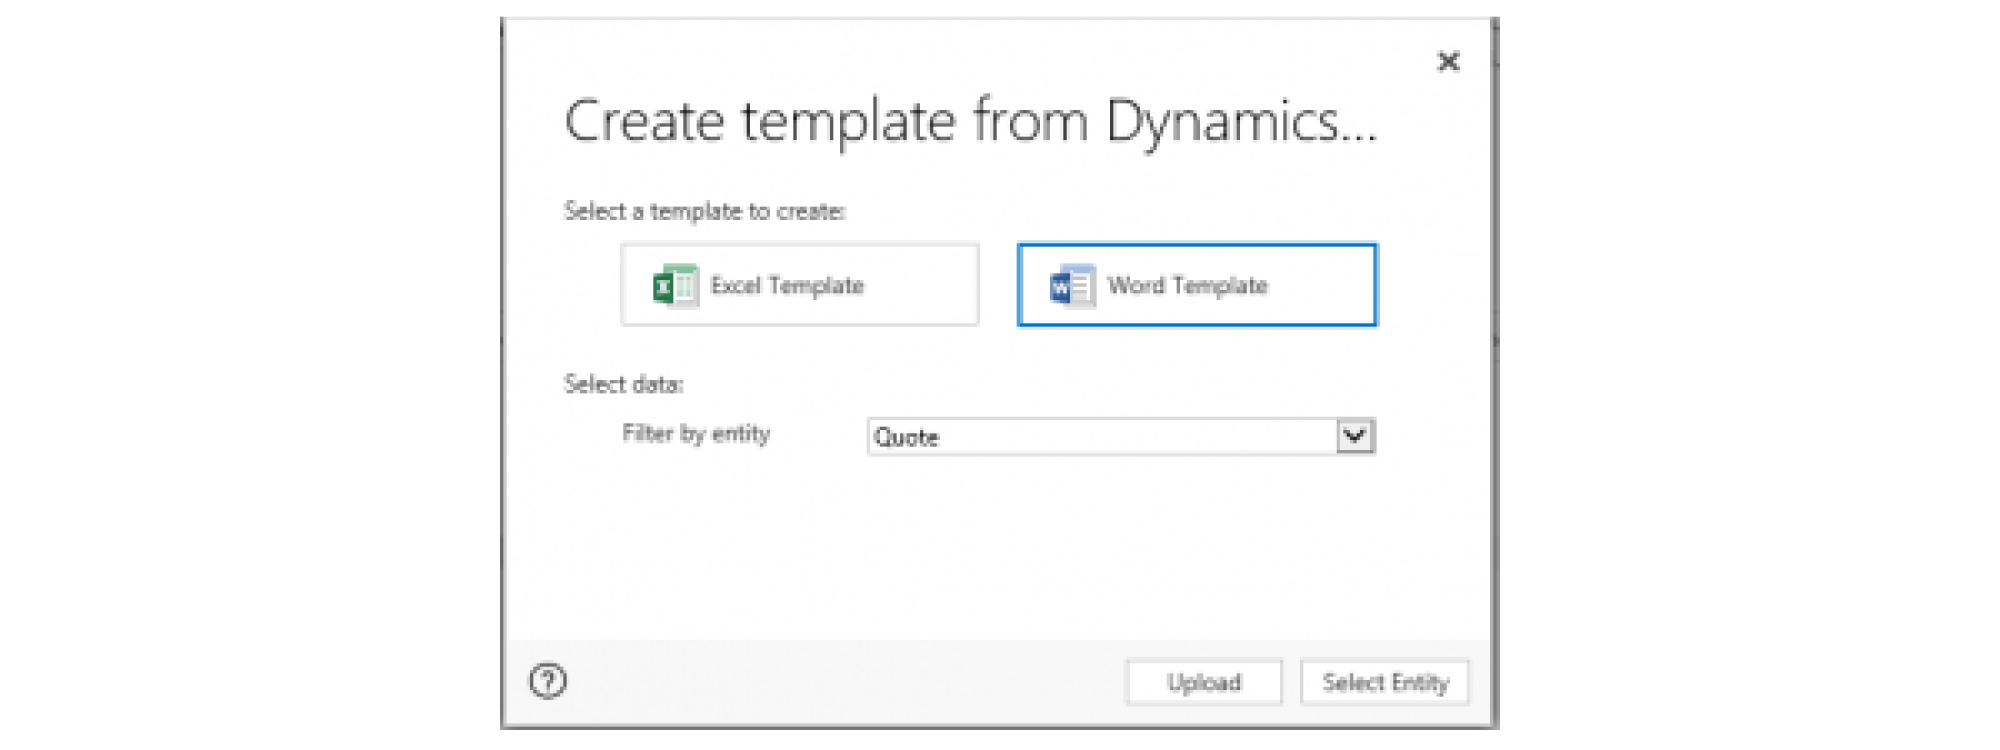
- Click Upload, and browse to find the file you just created
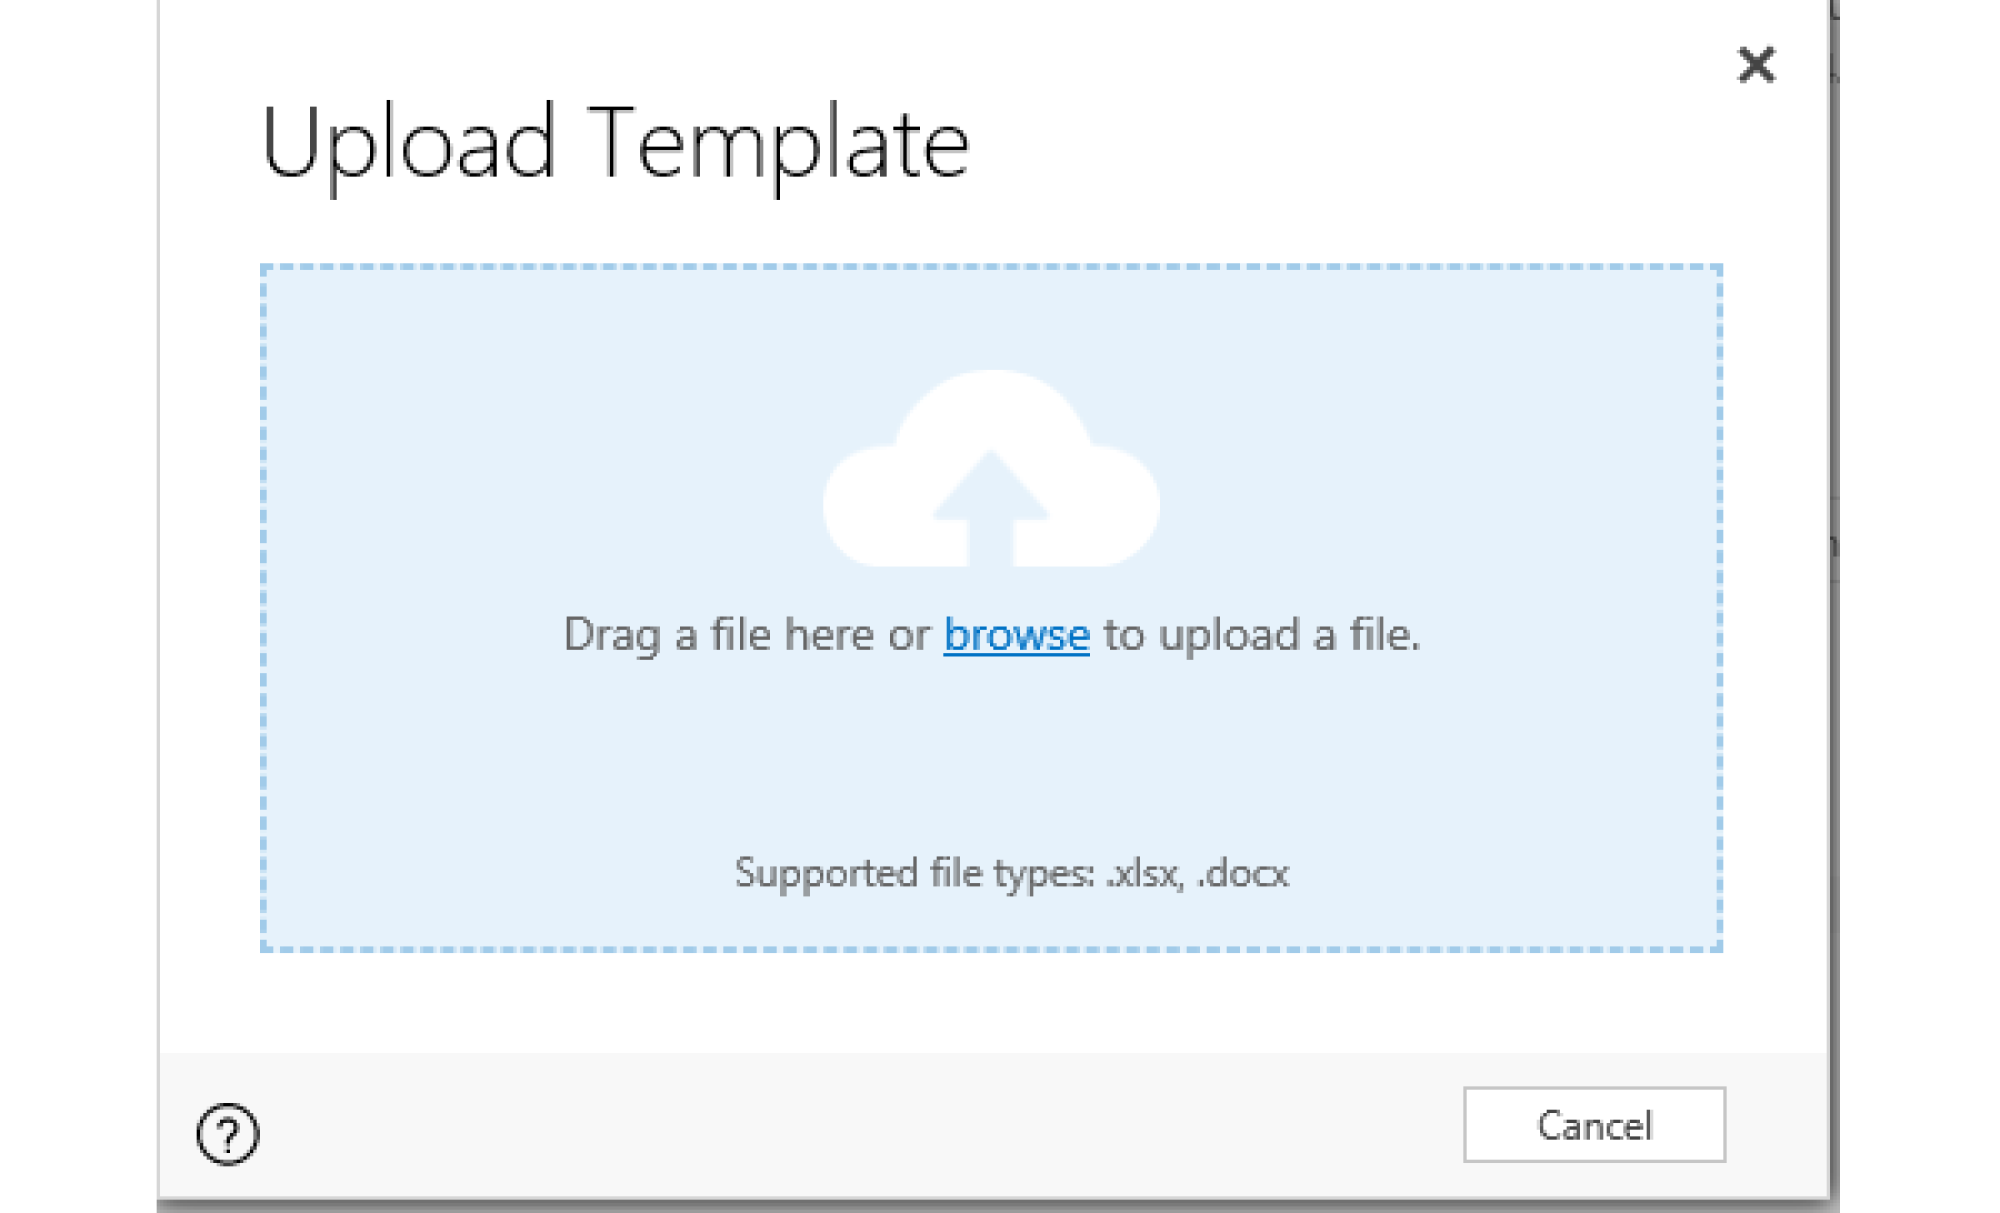
- Click Upload again
- You will be brought to the template in CRM. A Refresh is now needed in CRM. Click to refresh the page.
- Navigate to a Quote record and click the “…” and Word Templates and select the template Quote Template Personal (I have also uploaded a Quote Template Organization which is the same).
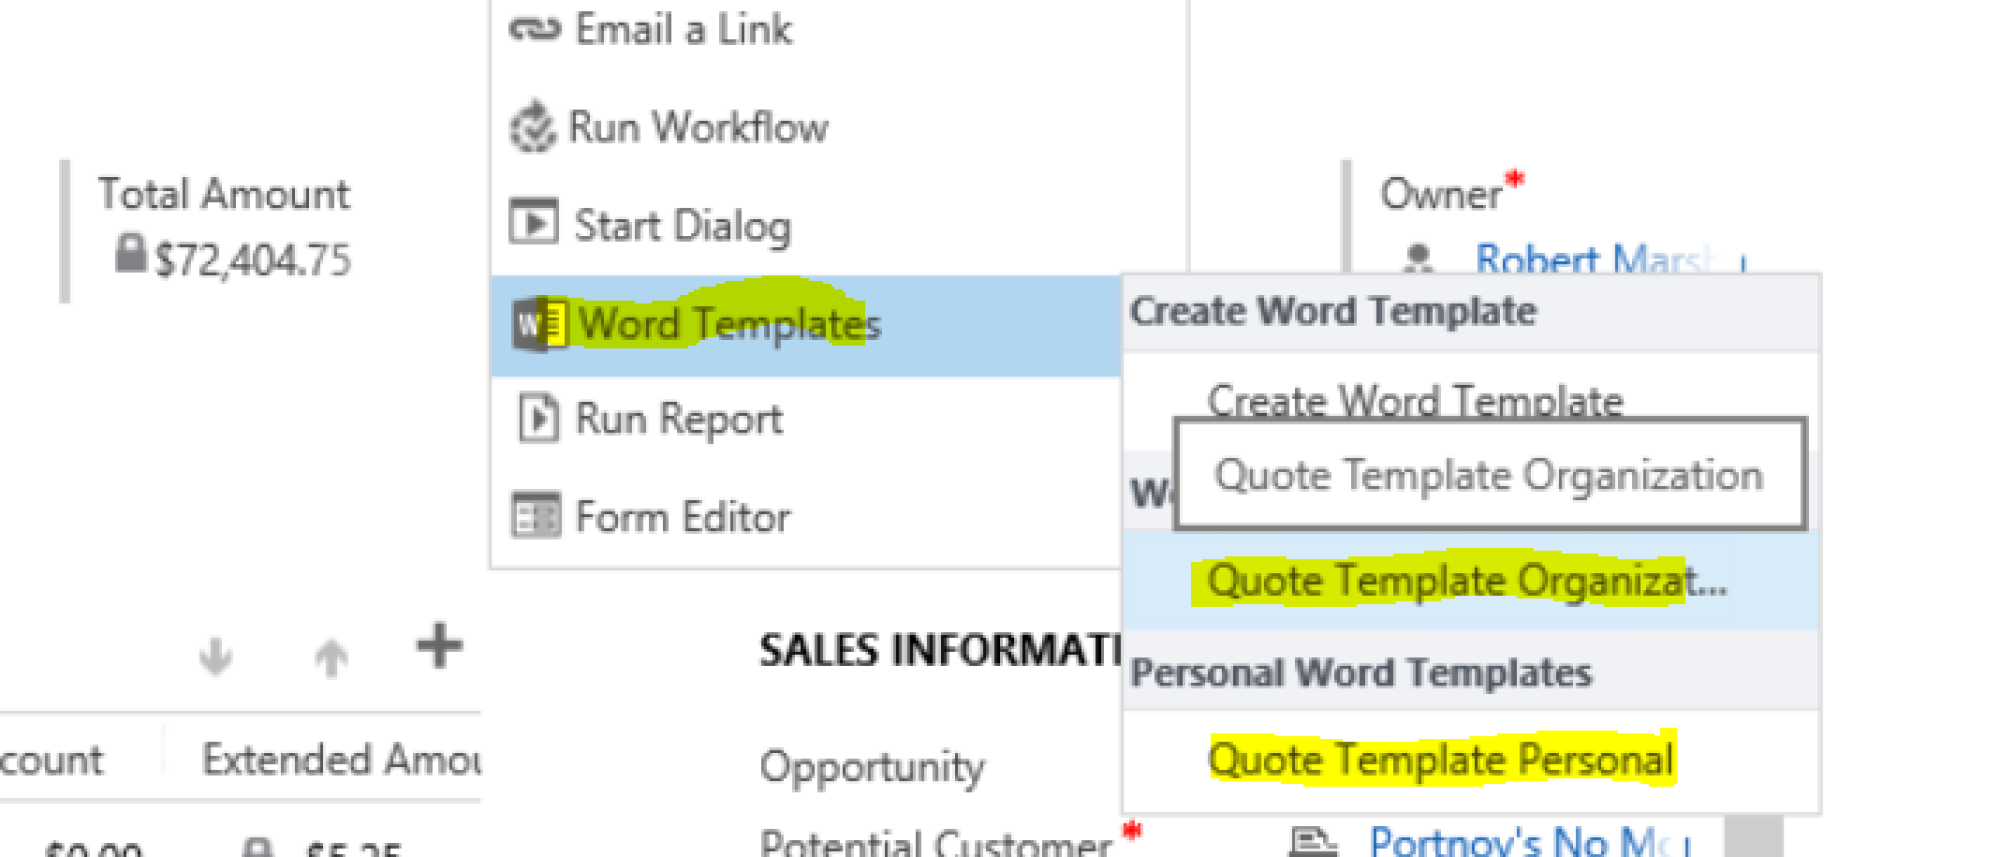
Your quote is now generated!
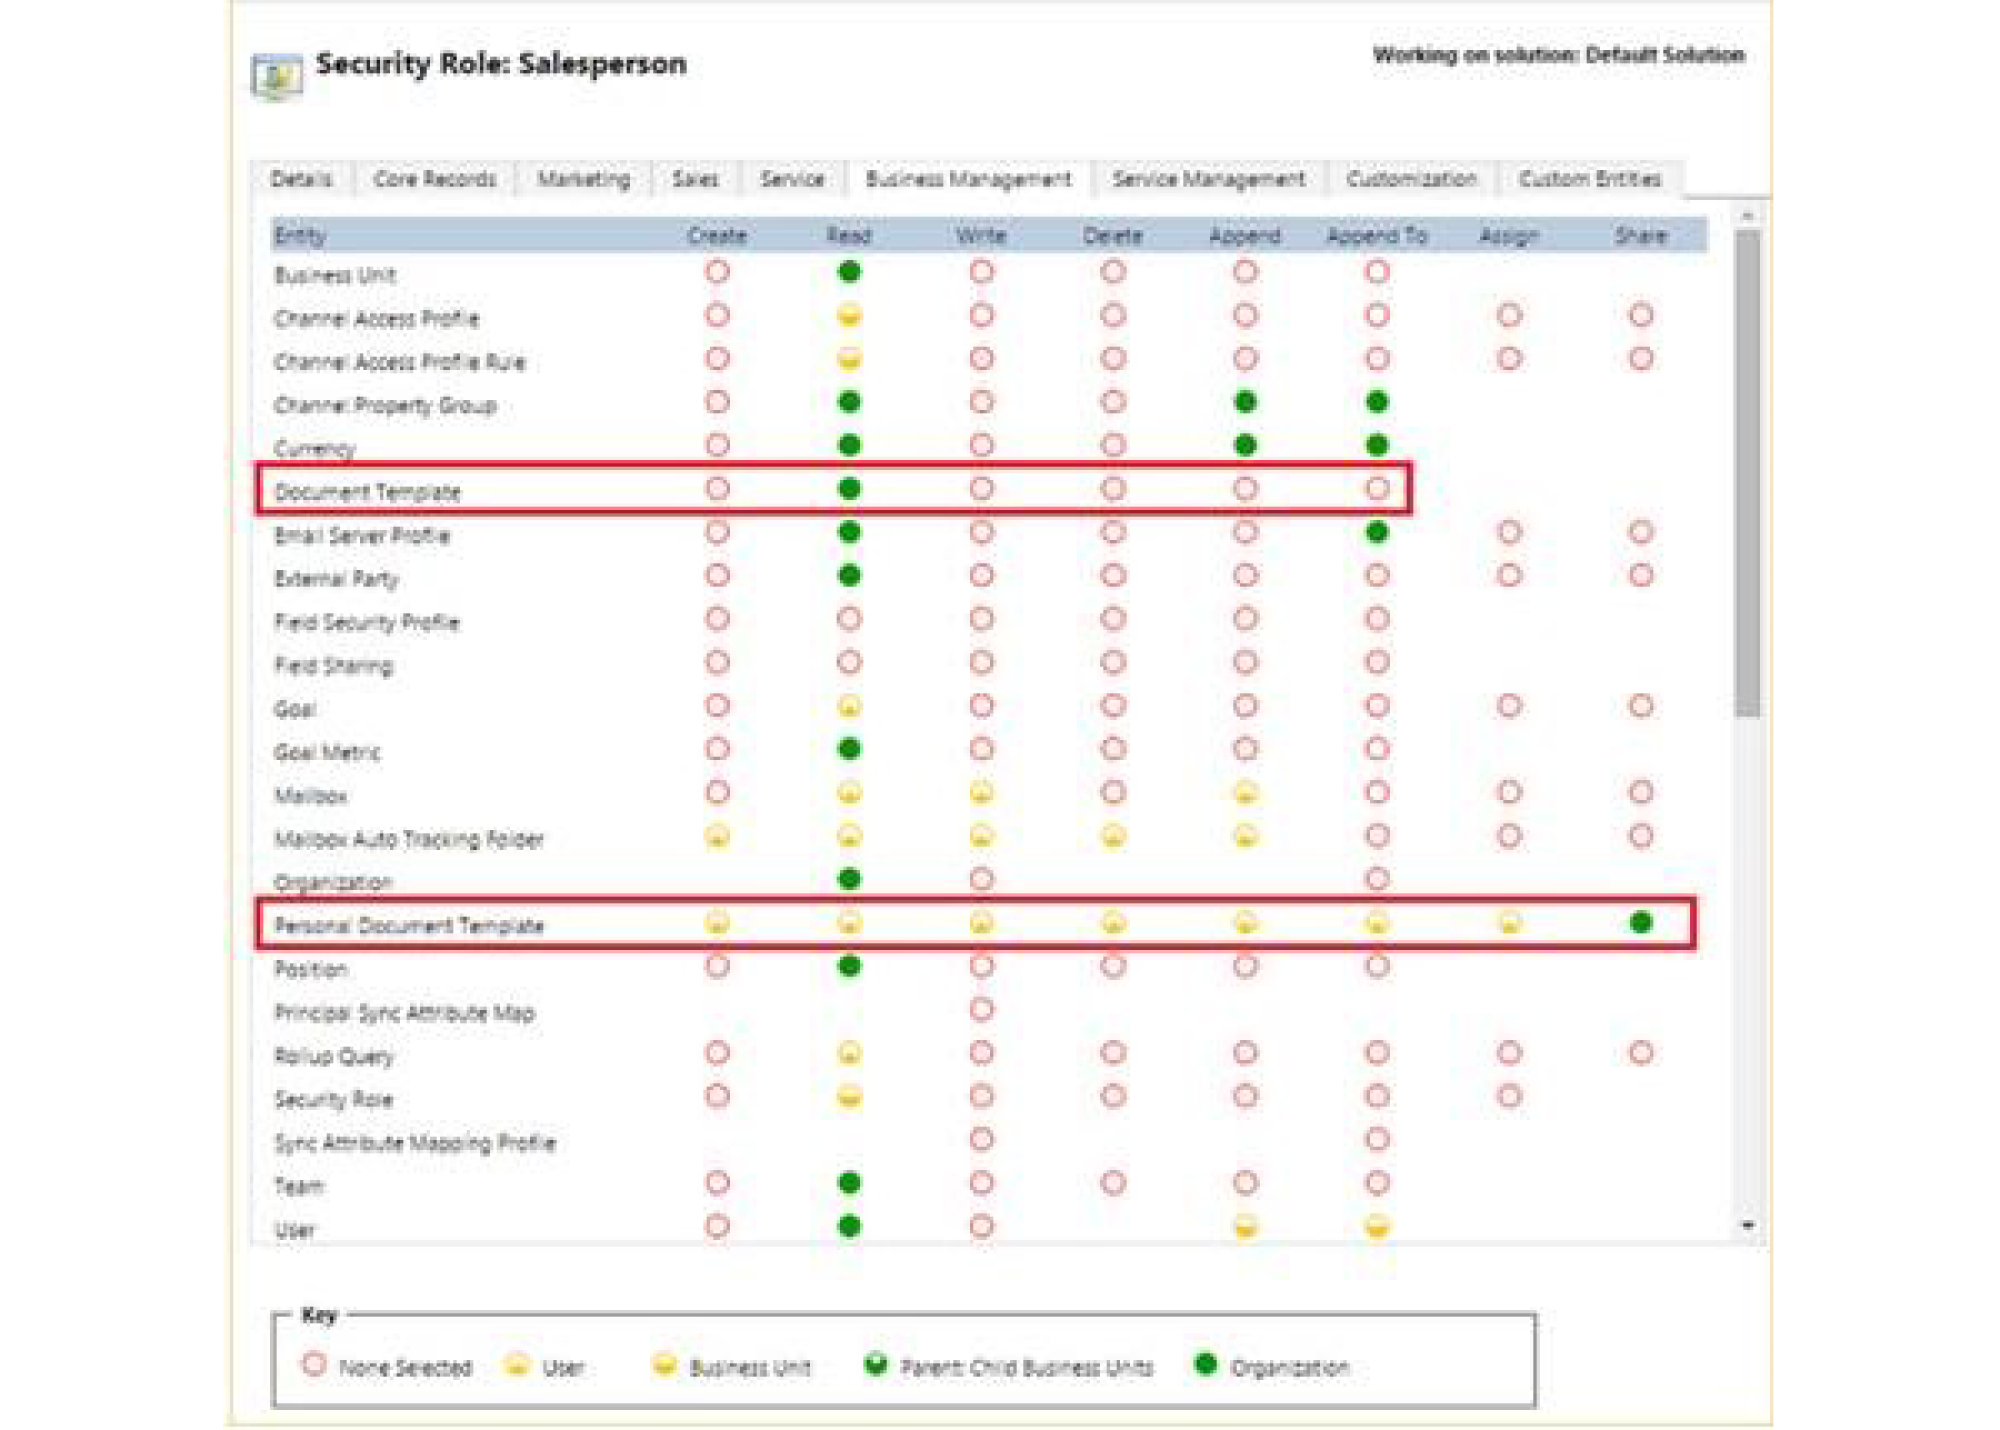
You can control access to Word templates for CRM users using Security Roles under the Business Management tab. Document Template and Personal Document Template are the two areas in the role:
(We Quote in Word – for several reasons, one of which is that the Quote entity does not support individual quotes with Excel, only Views of Quote information/charts. Secondly, Microsoft designed Word templates for Quotes so that you can PDF the Quote before sending it to an active Customer).
